Requirements
We will build an image recognition application, which means that we need a device with iOS version 11.3 or higher. Other requirements are basic for an ARKit app.
To start, you will need the following:
- ARKit compatible device
- iOS 11.3
- xCode 9.3
Once you have those, you are ready to go.
Create an ARKit demo image tracking
First, open Xcode and create a new Xcode project. Under templates, make sure to choose Augmented Reality App under iOS.
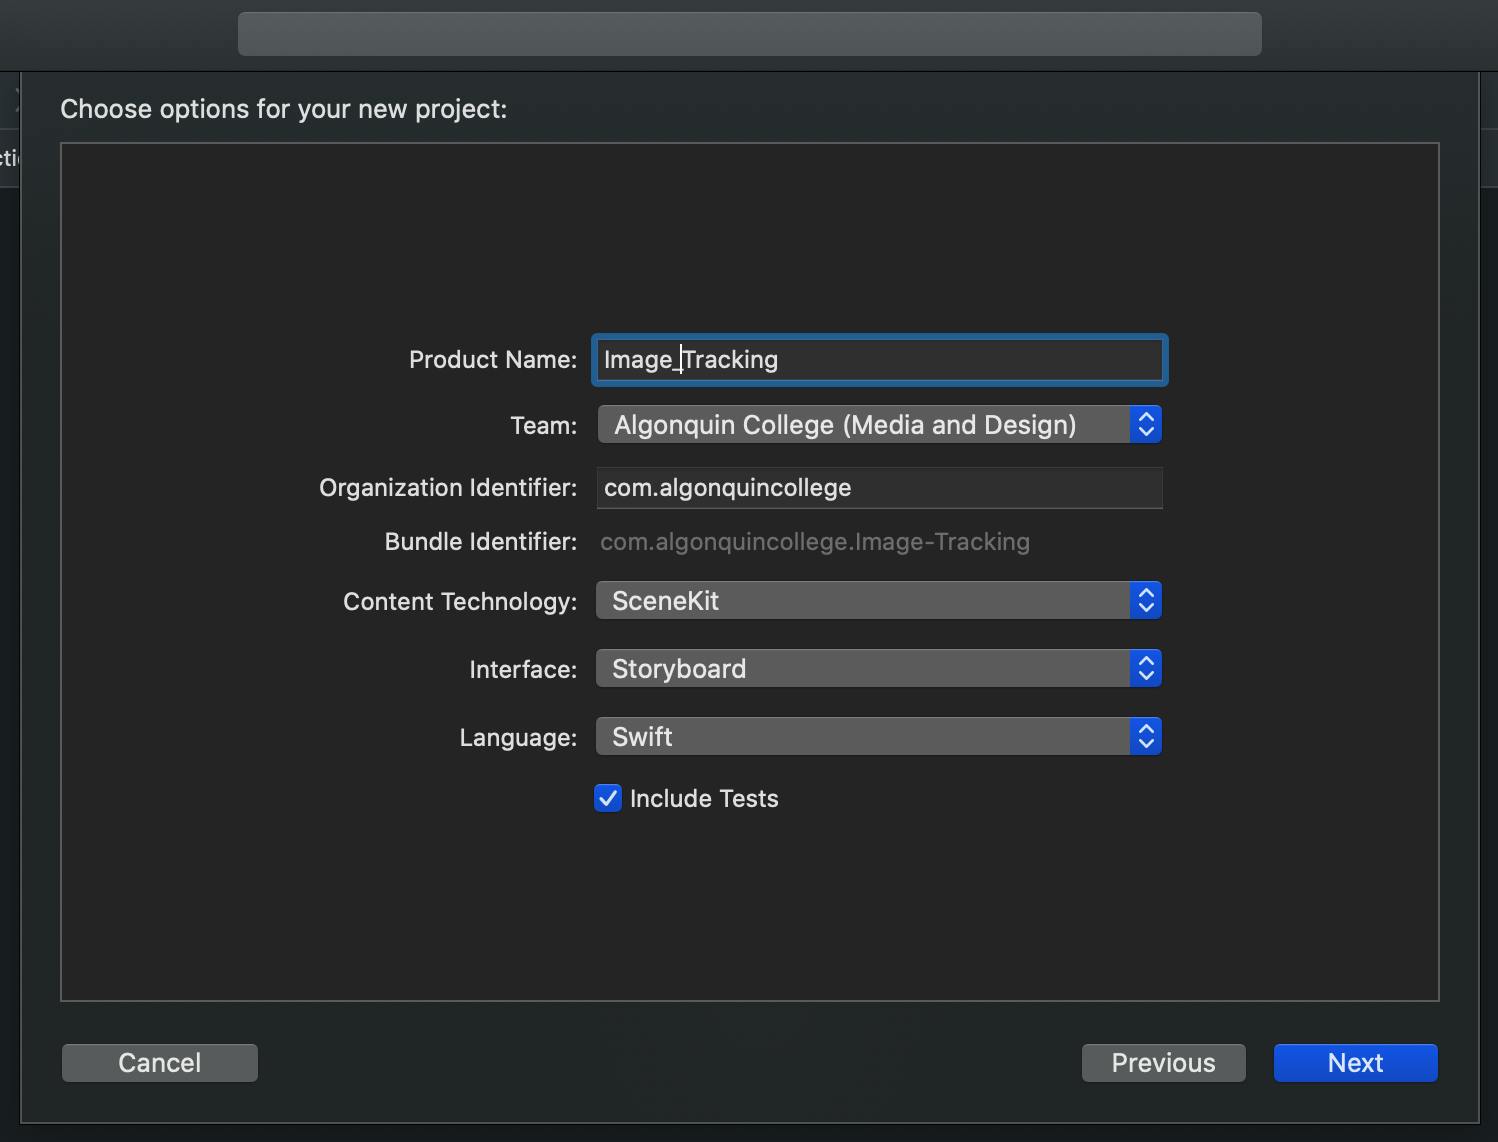
Next, set the name of your project. I simply named mine: Image_tracking. Make sure the language is set to Swift and Content Technology to SceneKit.
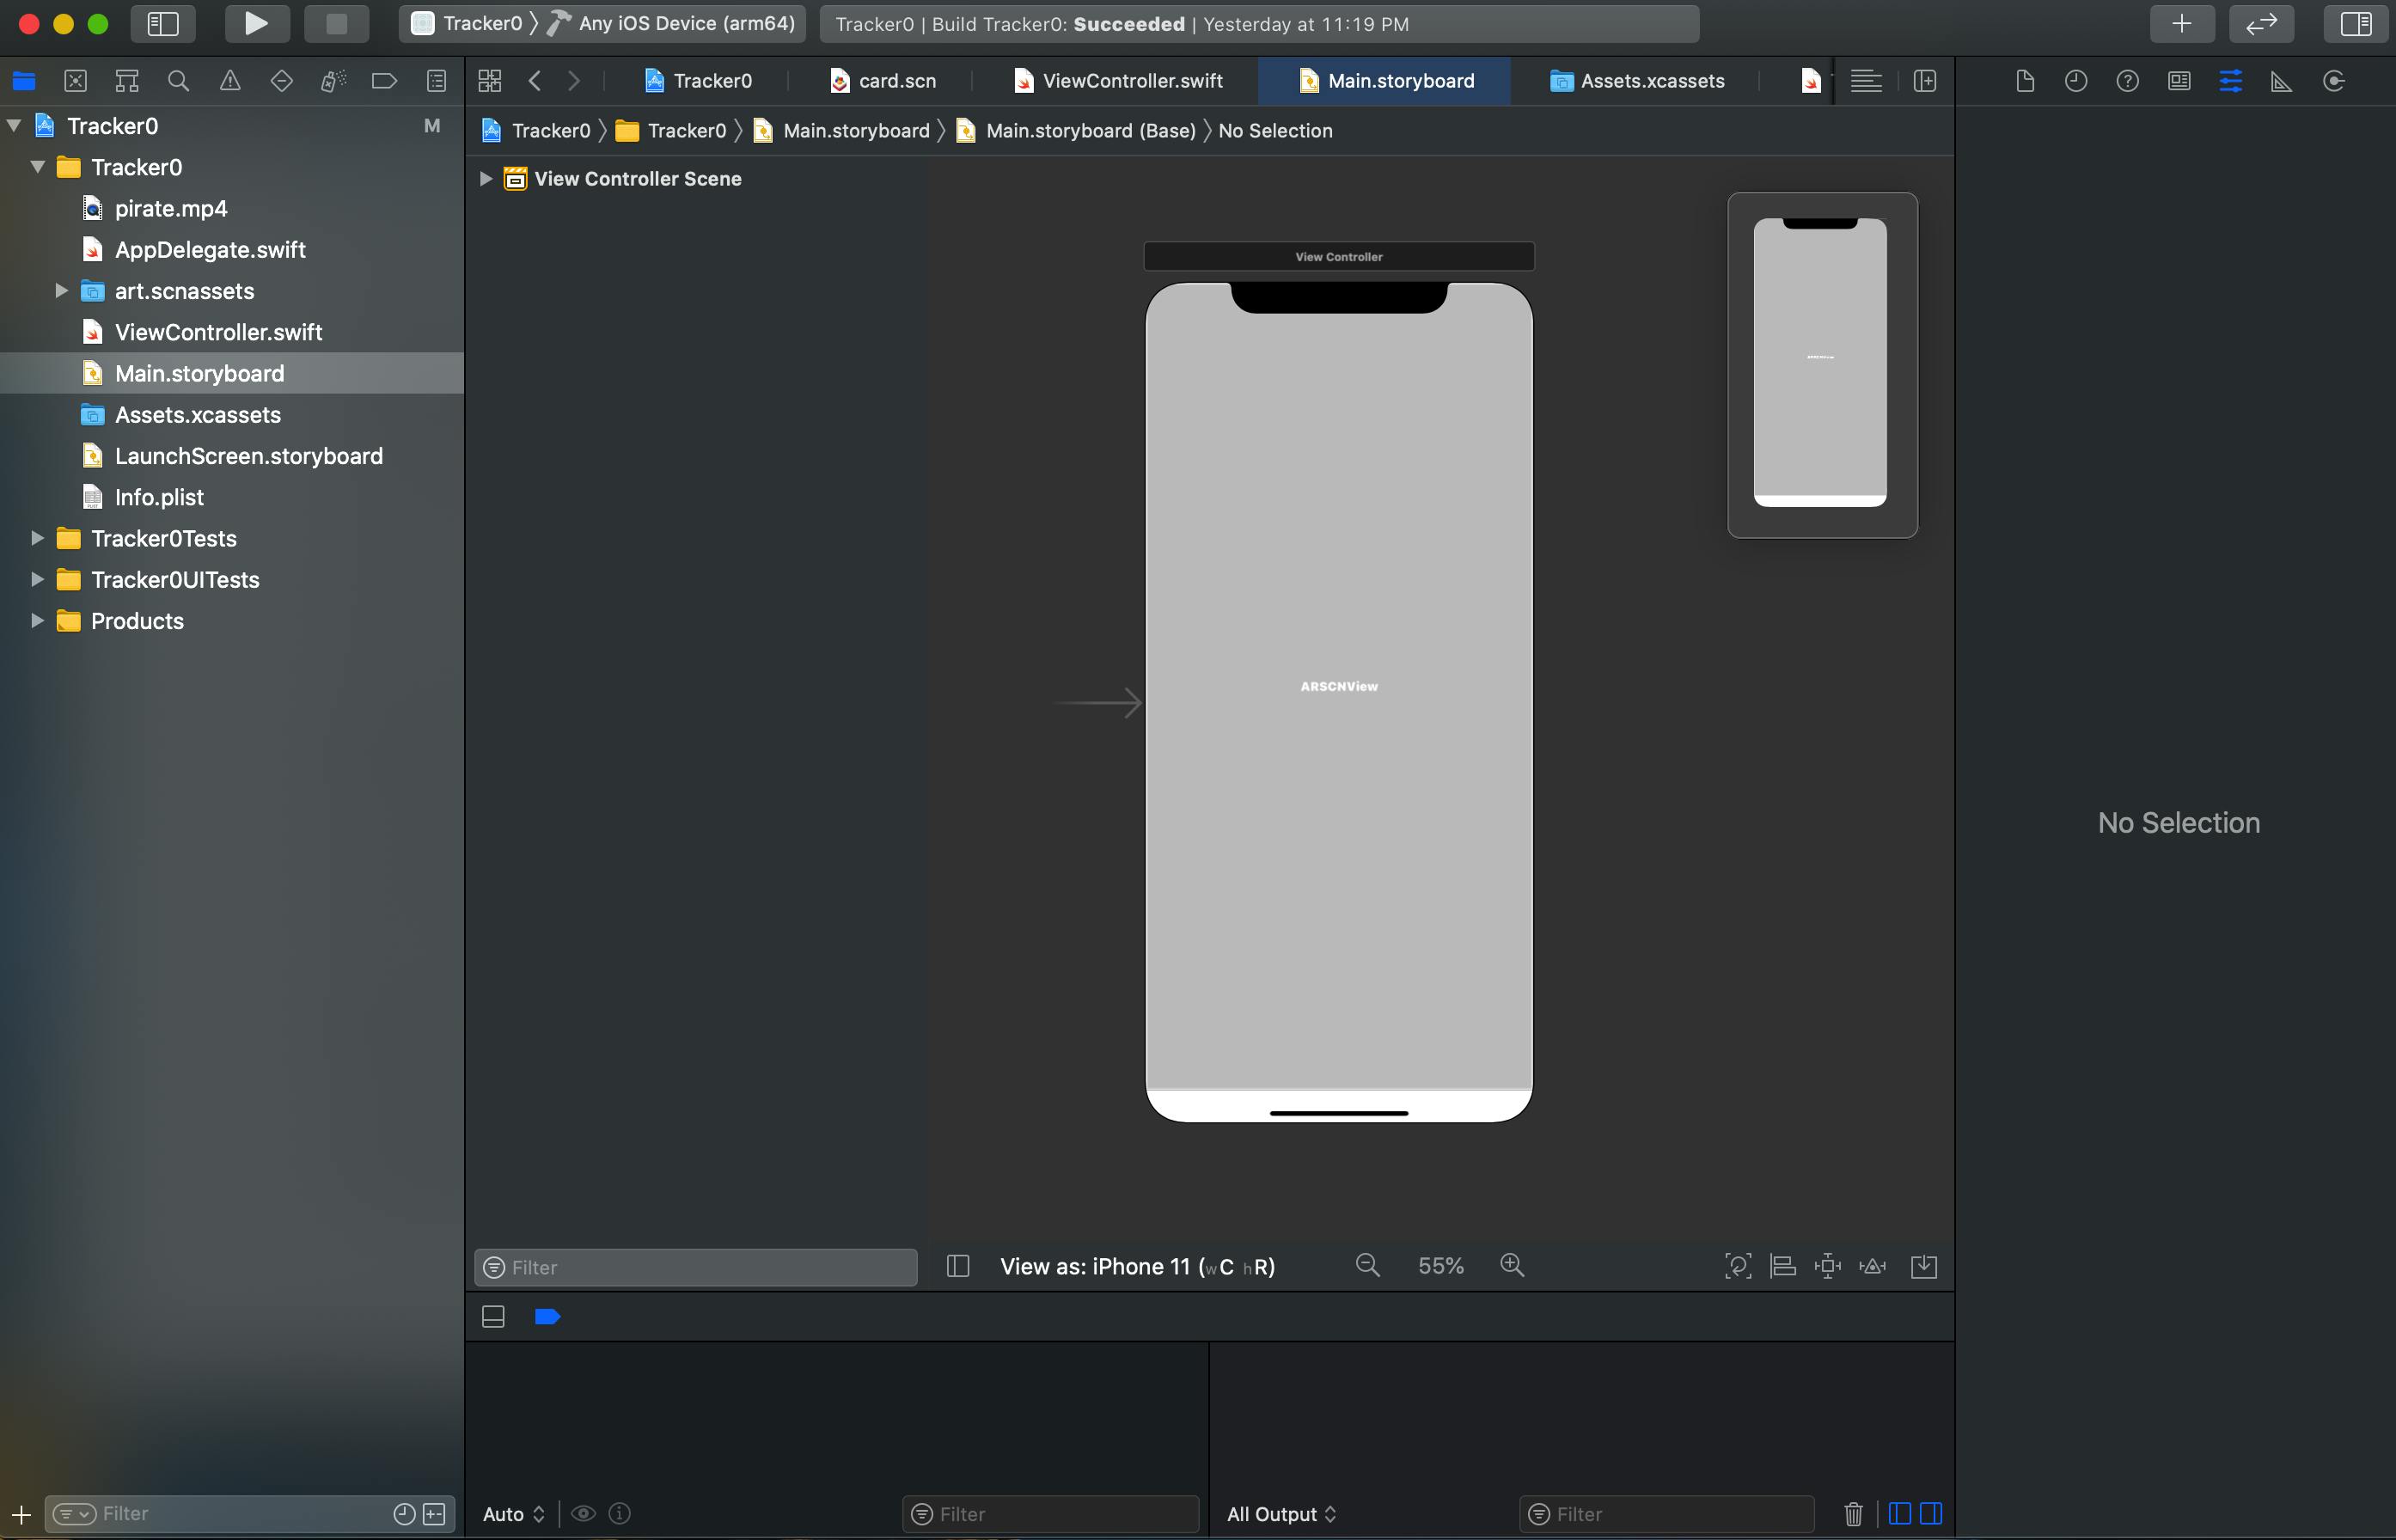
Head over to Main.storyboard. There should be a single view with an ARSCNView already connected to an outlet in your code.
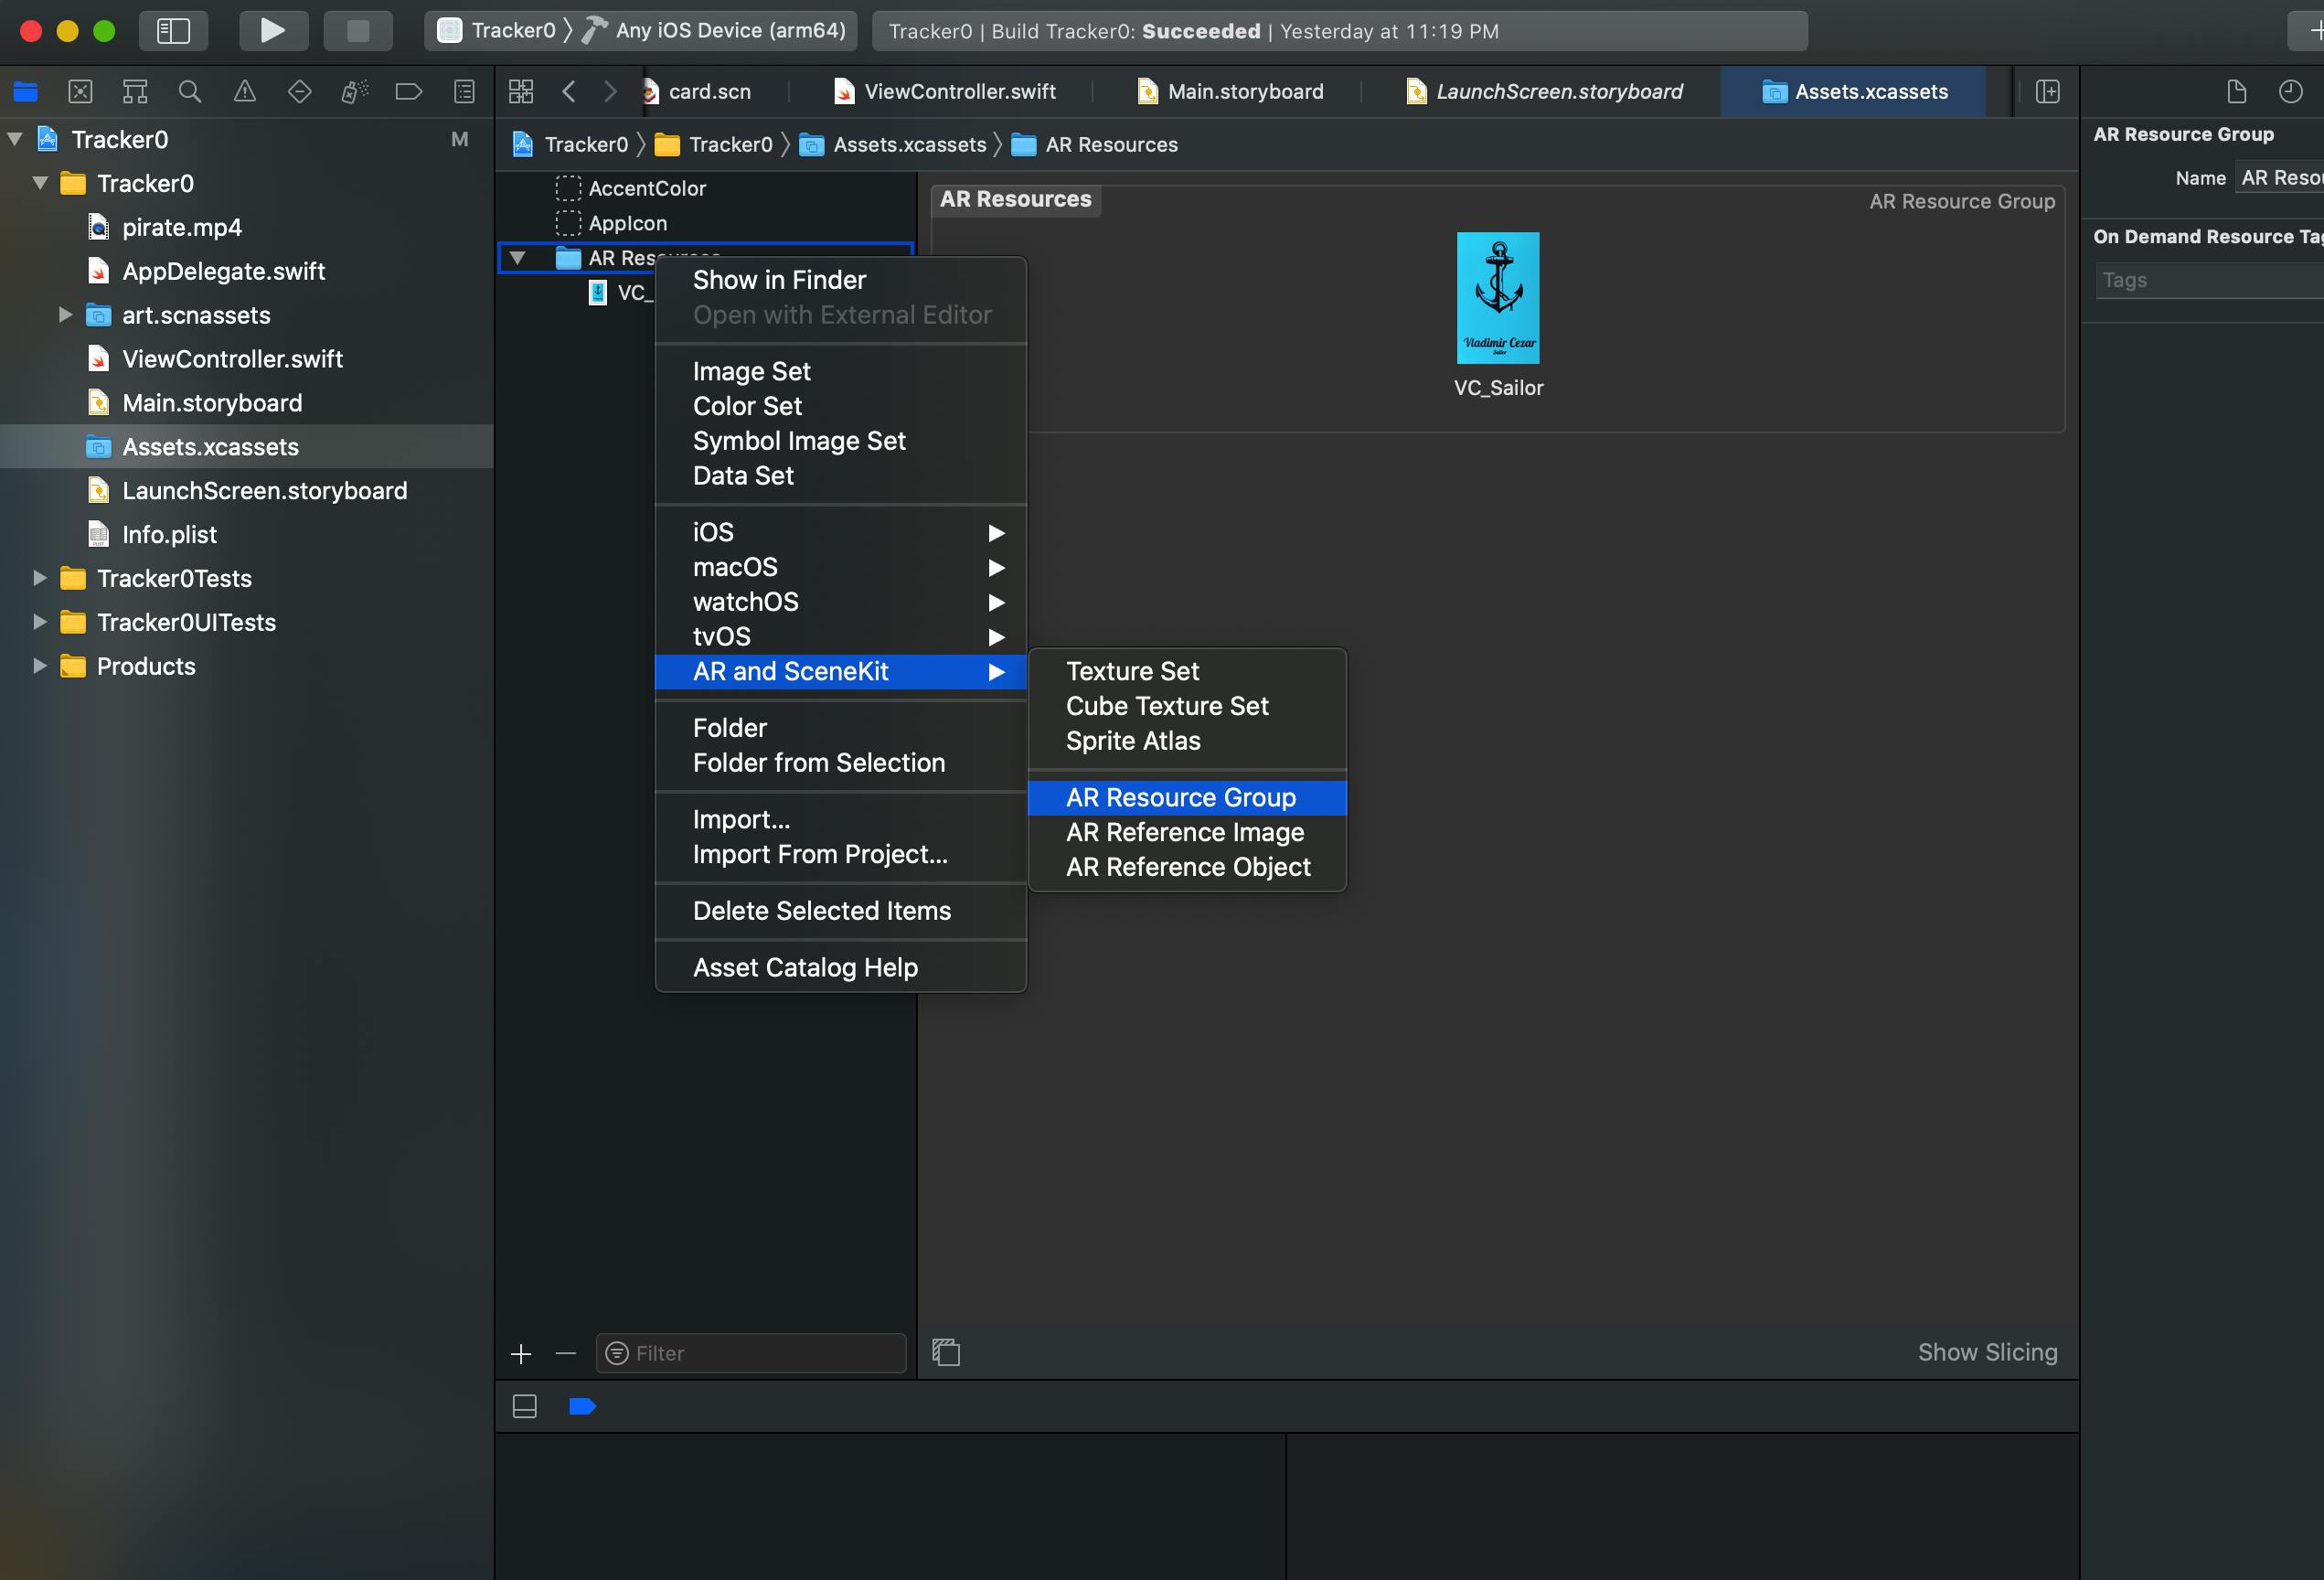
For this tutorial, we will use the below image and the video for image tracking and overlaying the video.

I had also added the image to a special container inside of Asset.xcasset folder — AR Resource Group. Additionally, I added a video file pirate.mp4 into the project as well.
Let’s have a look at ship.scn file The starter project will look as shown below.
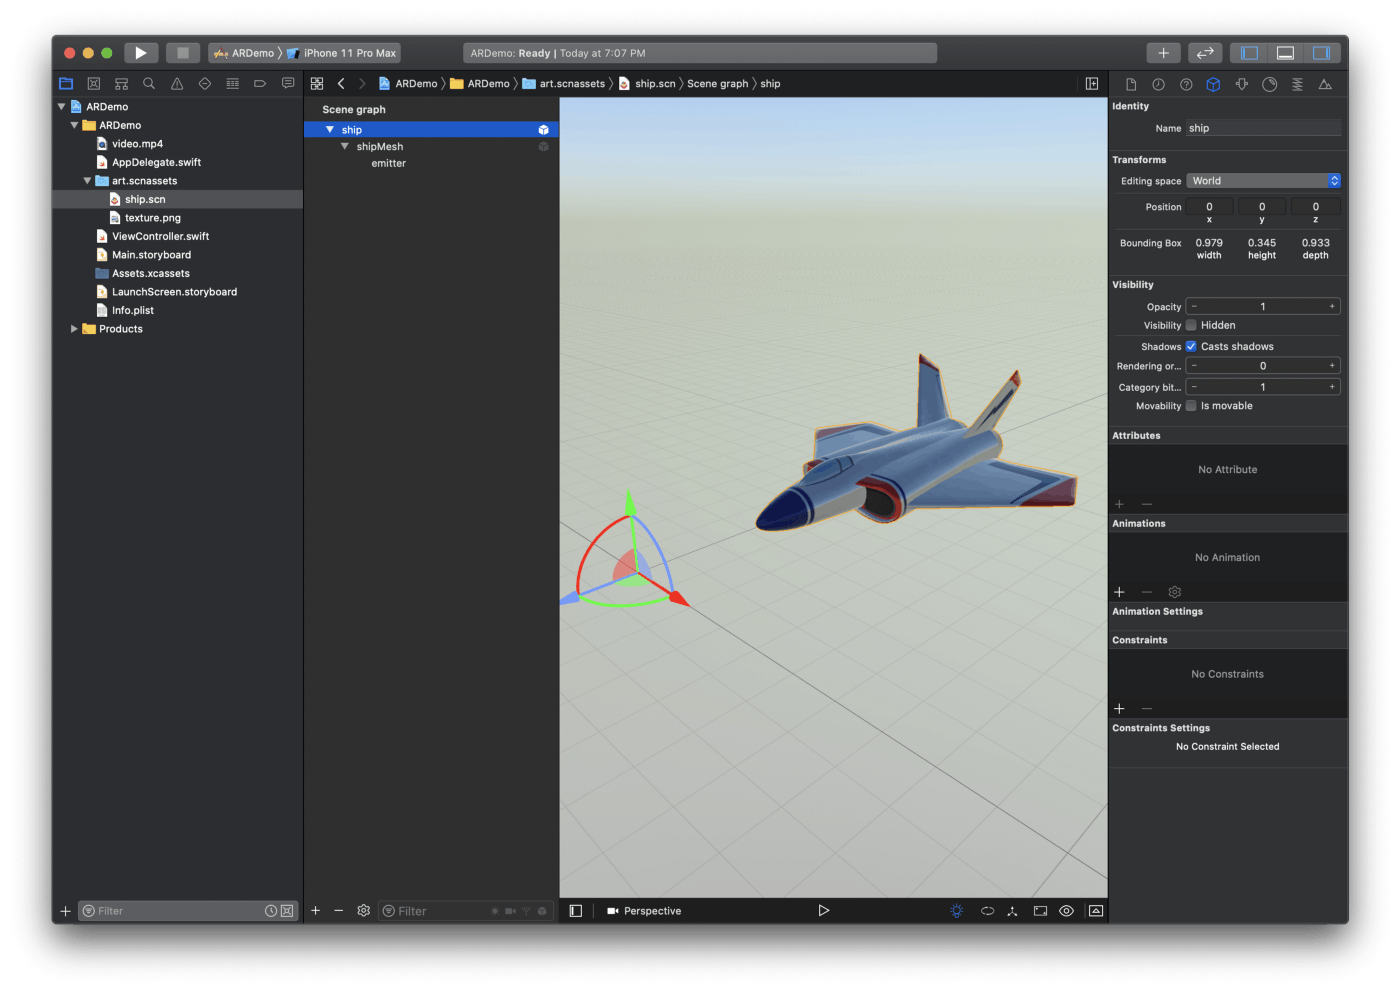
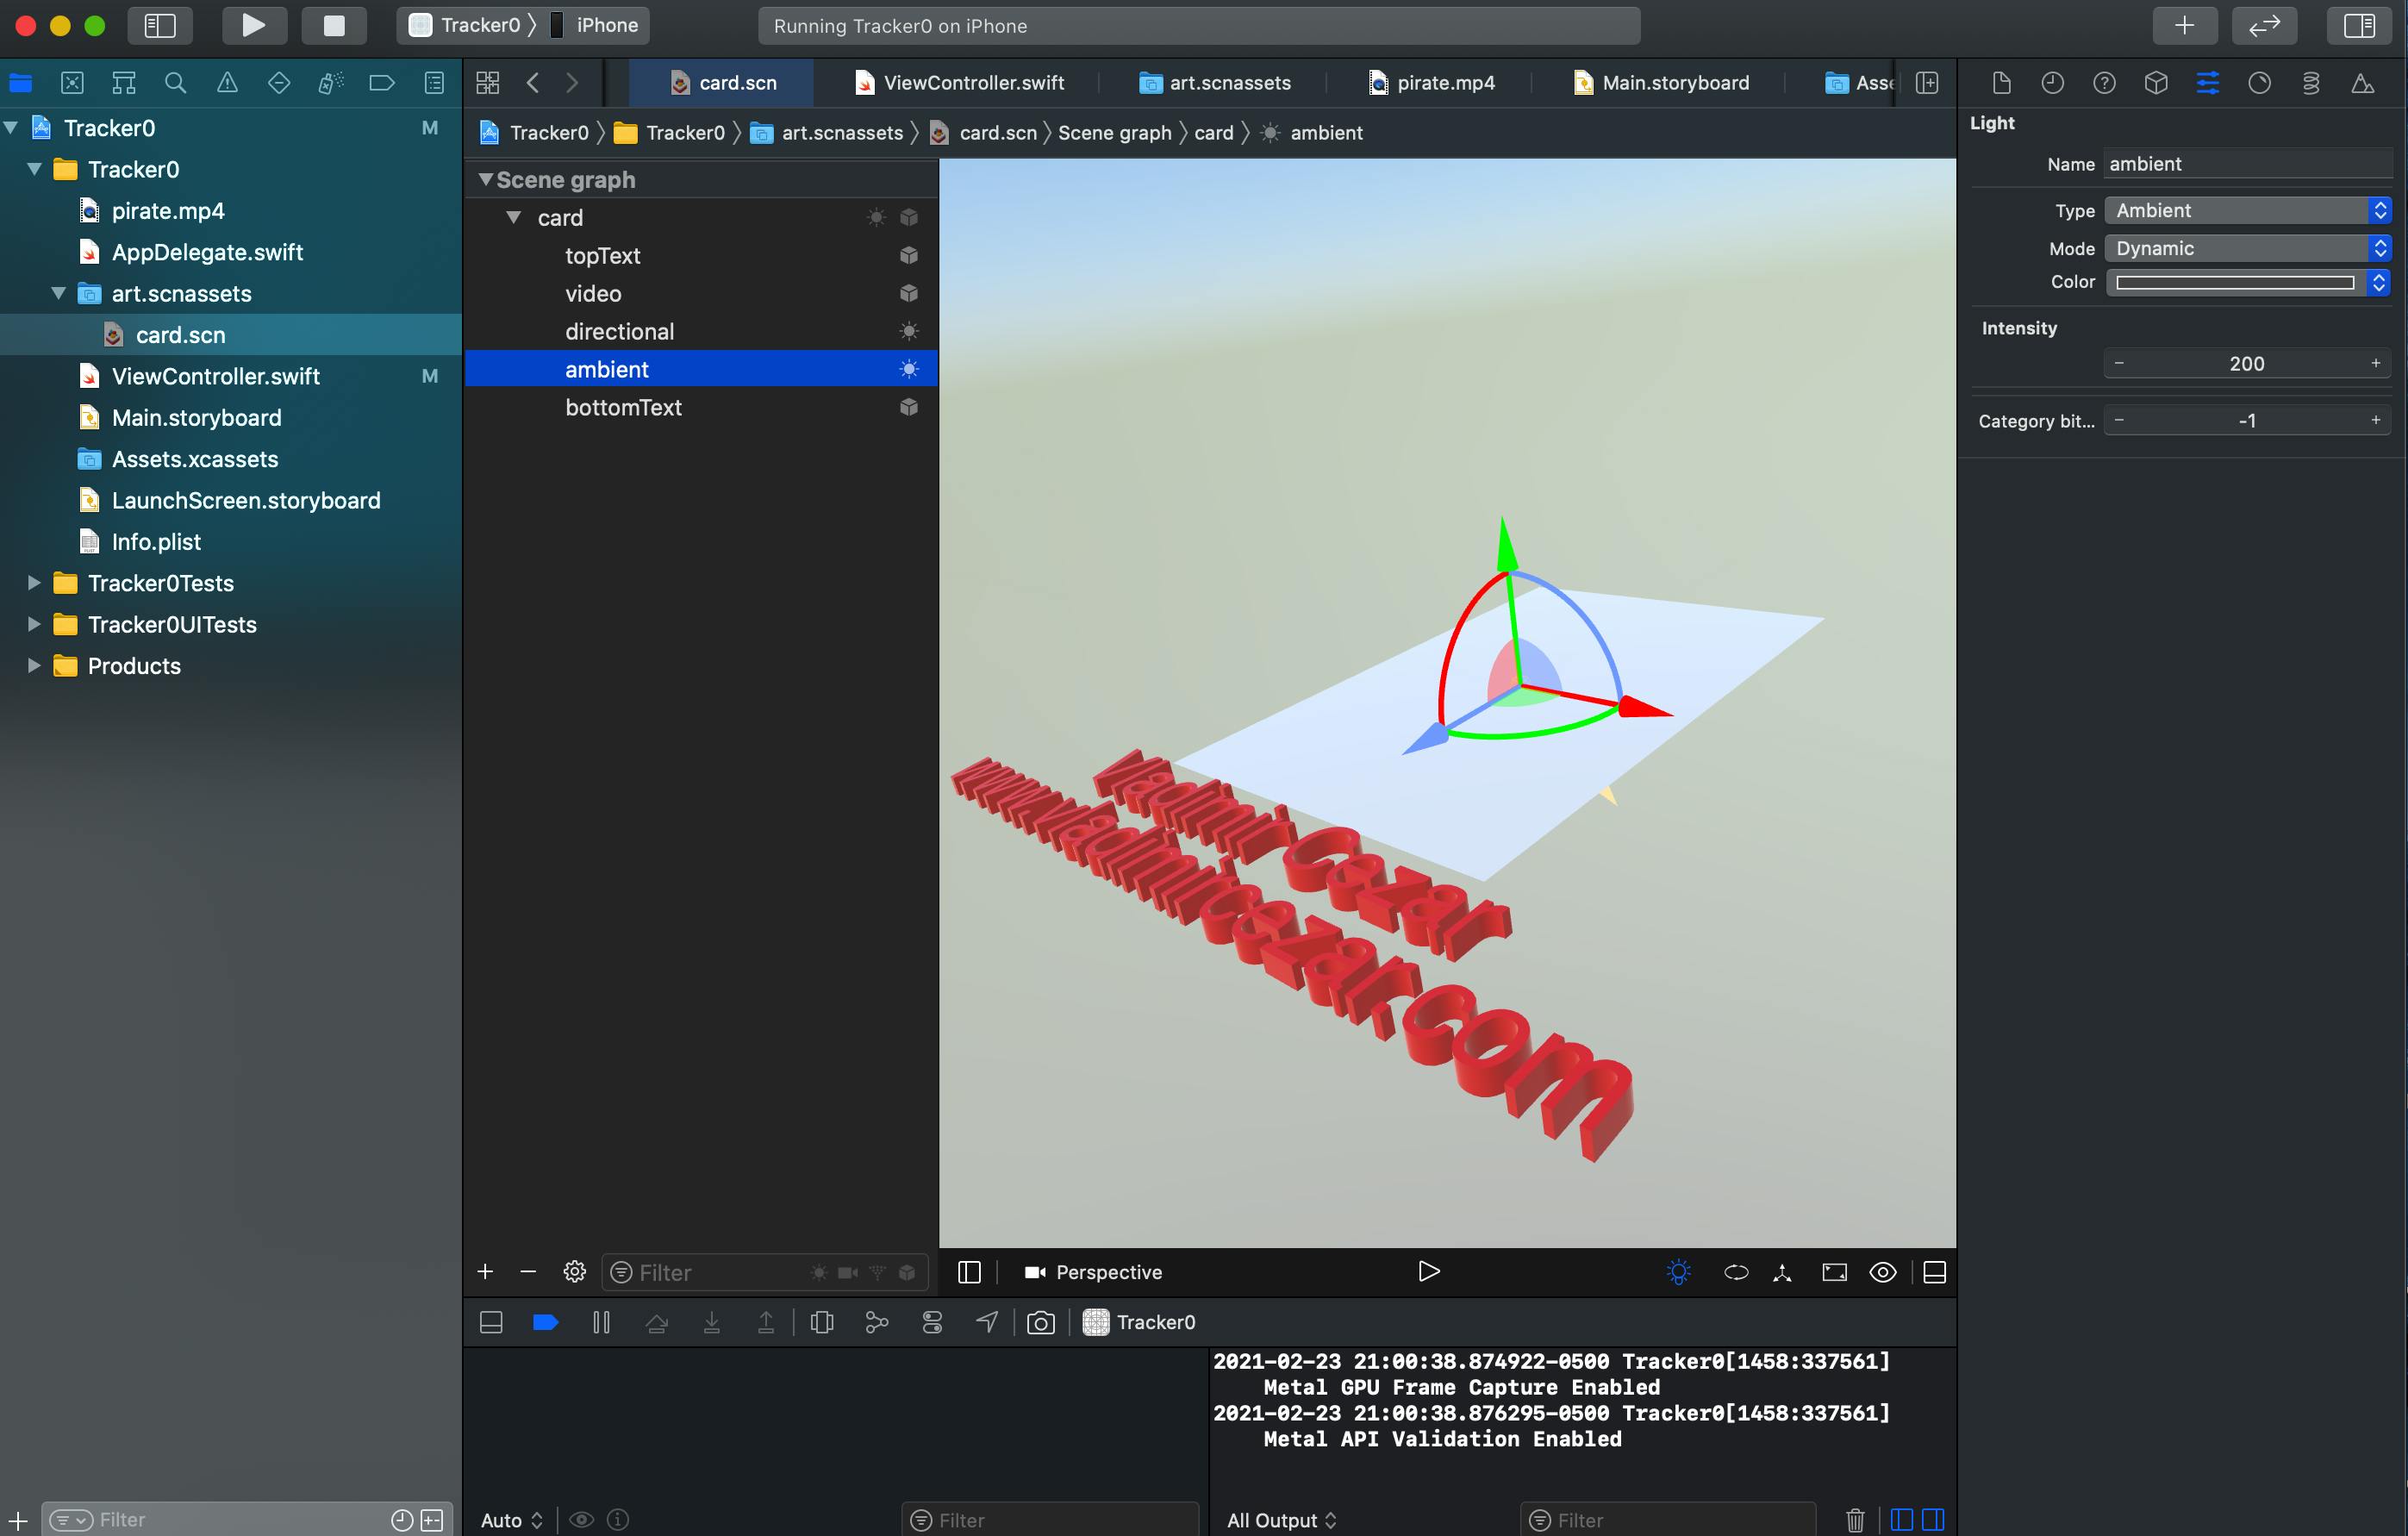
Remove the shipMesh from the ship.scn file and rename the scene graph as “card” as shown below.
Once done, add a Plane and rename it to “video” as shown below.
Then, add a 3D text and rename it to "topText" as a name.
Add a 3D text and rename it to "bottomText" as a website.
Add an ambient and directional light.
Each AR asset image needs to have the physical size set as accurately as possible because ARKit relies on this information to determine how far the image is from the camera.
Finally, when we have it all set up, we can start the coding.
Image recognition
First, we need to make an outlet of sceneView by connect ARSCNView from Main.storyboad to ViewController. Then, we create a new scene using our sample scene.
Modify viewDidAppear() function as following:
@IBOutlet var sceneView: ARSCNView!

    override func viewDidLoad() {
        super.viewDidLoad()

        // Set the view's delegate
        sceneView.delegate = self

        // Show statistics such as fps and timing information
        sceneView.showsStatistics = true

        // Create a new scene
        let scene = SCNScene(named: "art.scnassets/card.scn")!

        // Set the scene to the view
        sceneView.scene = scene
    }
To get image recognition working, we need to load and add AR reference images as detection images to ARSessionConfiguration.
Modify viewWillAppear() function as following:
override func viewWillAppear(_ animated: Bool) {
        super.viewWillAppear(animated)

        // Create a session configuration
        let configuration = ARImageTrackingConfiguration()
        guard let arReferenceImages = ARReferenceImage.referenceImages(inGroupNamed: "AR Resources", bundle: nil) else { return }
        configuration.trackingImages = arReferenceImages
        sceneView.session.run(configuration)

        // Run the view's session
        sceneView.session.run(configuration)
    }
Hopefully, the comments make it clear what the code is doing, but the gist of it is that we're setting up the 3D scene and the AR session here. The ViewController mounts a sceneView onto the screen, which is a special view that draws the camera feed and gives us lighting and 3D anchors to add virtual objects to. The ARImageTrackingConfiguration is what tells ARKit to look for a specific reference image that we've loaded into memory called arReferenceImages. We're also setting some debugging options so we can get stats like FPS on the screen.
Apple handles image recognition from this moment, so we don’t need to worry about it. Now the system will try to find images loaded from the AR Resources folder. After it finds any, it will add or update a corresponding ARImageAnchor that represents the detected image’s position and orientation.
Visualize Image Tracking Results
The first thing we'll be doing is detecting when an anchor has been added. Because we configured our AR session to use the ARImageTrackingConfiguration configuration in the ViewController, it will automatically add a 3D anchor to the scene when it finds that image. We simply need to tell it what to render when it does add that anchor.
We're almost there. Our next piece of virtual content will be an interactive video. This will load a specific video pirate.mp4 and display it overlay the postcard. So we add the below delegate method of “SCNSceneRenderer” with the following code as shown below.
// MARK: - ARSCNViewDelegate

    func renderer(_ renderer: SCNSceneRenderer, didAdd node: SCNNode, for anchor: ARAnchor) {
        guard anchor is ARImageAnchor else { return }

        guard let card = sceneView.scene.rootNode.childNode(withName: "card", recursively: false) else { return }
        card.removeFromParentNode()
        node.addChildNode(card)

        card.isHidden = false

        let videoURL = Bundle.main.url(forResource: "pirate", withExtension: "mp4")!
        let videoPlayer = AVPlayer(url: videoURL)

        let videoScene = SKScene(size: CGSize(width: 720.0, height: 1280.0))

        let videoNode = SKVideoNode(avPlayer: videoPlayer)
        videoNode.position = CGPoint(x: videoScene.size.width / 2, y: videoScene.size.height / 2)
        videoNode.size = videoScene.size
        videoNode.yScale = -1
        videoNode.play()

        videoScene.addChild(videoNode)

        guard let video = card.childNode(withName: "video", recursively: true) else { return }
        video.geometry?.firstMaterial?.diffuse.contents = videoScene
   }
But we are not done yet. There is one more thing we need to achieve before we conclude. The video still keeps on playing when we move our device away from the anchored image. How are we going to resolve this? Here is the solution:
 override func viewWillDisappear(_ animated: Bool) {
        super.viewWillDisappear(animated)

        // Pause the view's session
        sceneView.session.pause()
    }
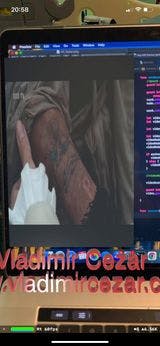
Now run the application on a physical device. You should be able to see the video being played on top of the image as shown below.

Conclusion
In this tutorial we have seen how to overlay a video on top of an anchored image which can dynamically change its size with the change of the anchored image. We also saw how to pause and resume the video once the scene renderer is being updated.
